
Winter is hard on Connecticut roofs in a way that isn’t always obvious from the ground. You might not see a missing shingle or a dramatic leak, yet you notice a faint water stain, a musty attic smell, or a drip that only shows up after a thaw.
If you’re scheduling a roof inspection after winter, flashing deserves special attention. Flashing is the thin metal (or membrane) system that seals roof “intersections” where water naturally concentrates—chimneys, valleys, walls, skylights, and vents. When it fails, water doesn’t need a big opening to get in.
At MJT Roofing, we diagnose winter-related roof issues across Connecticut by looking at the roof as a system: how snow, ice, wind, and temperature swings interact with drainage, ventilation, and the details that keep water out.
Flashing failures in winter usually aren’t about one storm. More often, they’re the result of repeated freeze-thaw cycles, ice backup, and movement between materials that expand and contract at different rates.
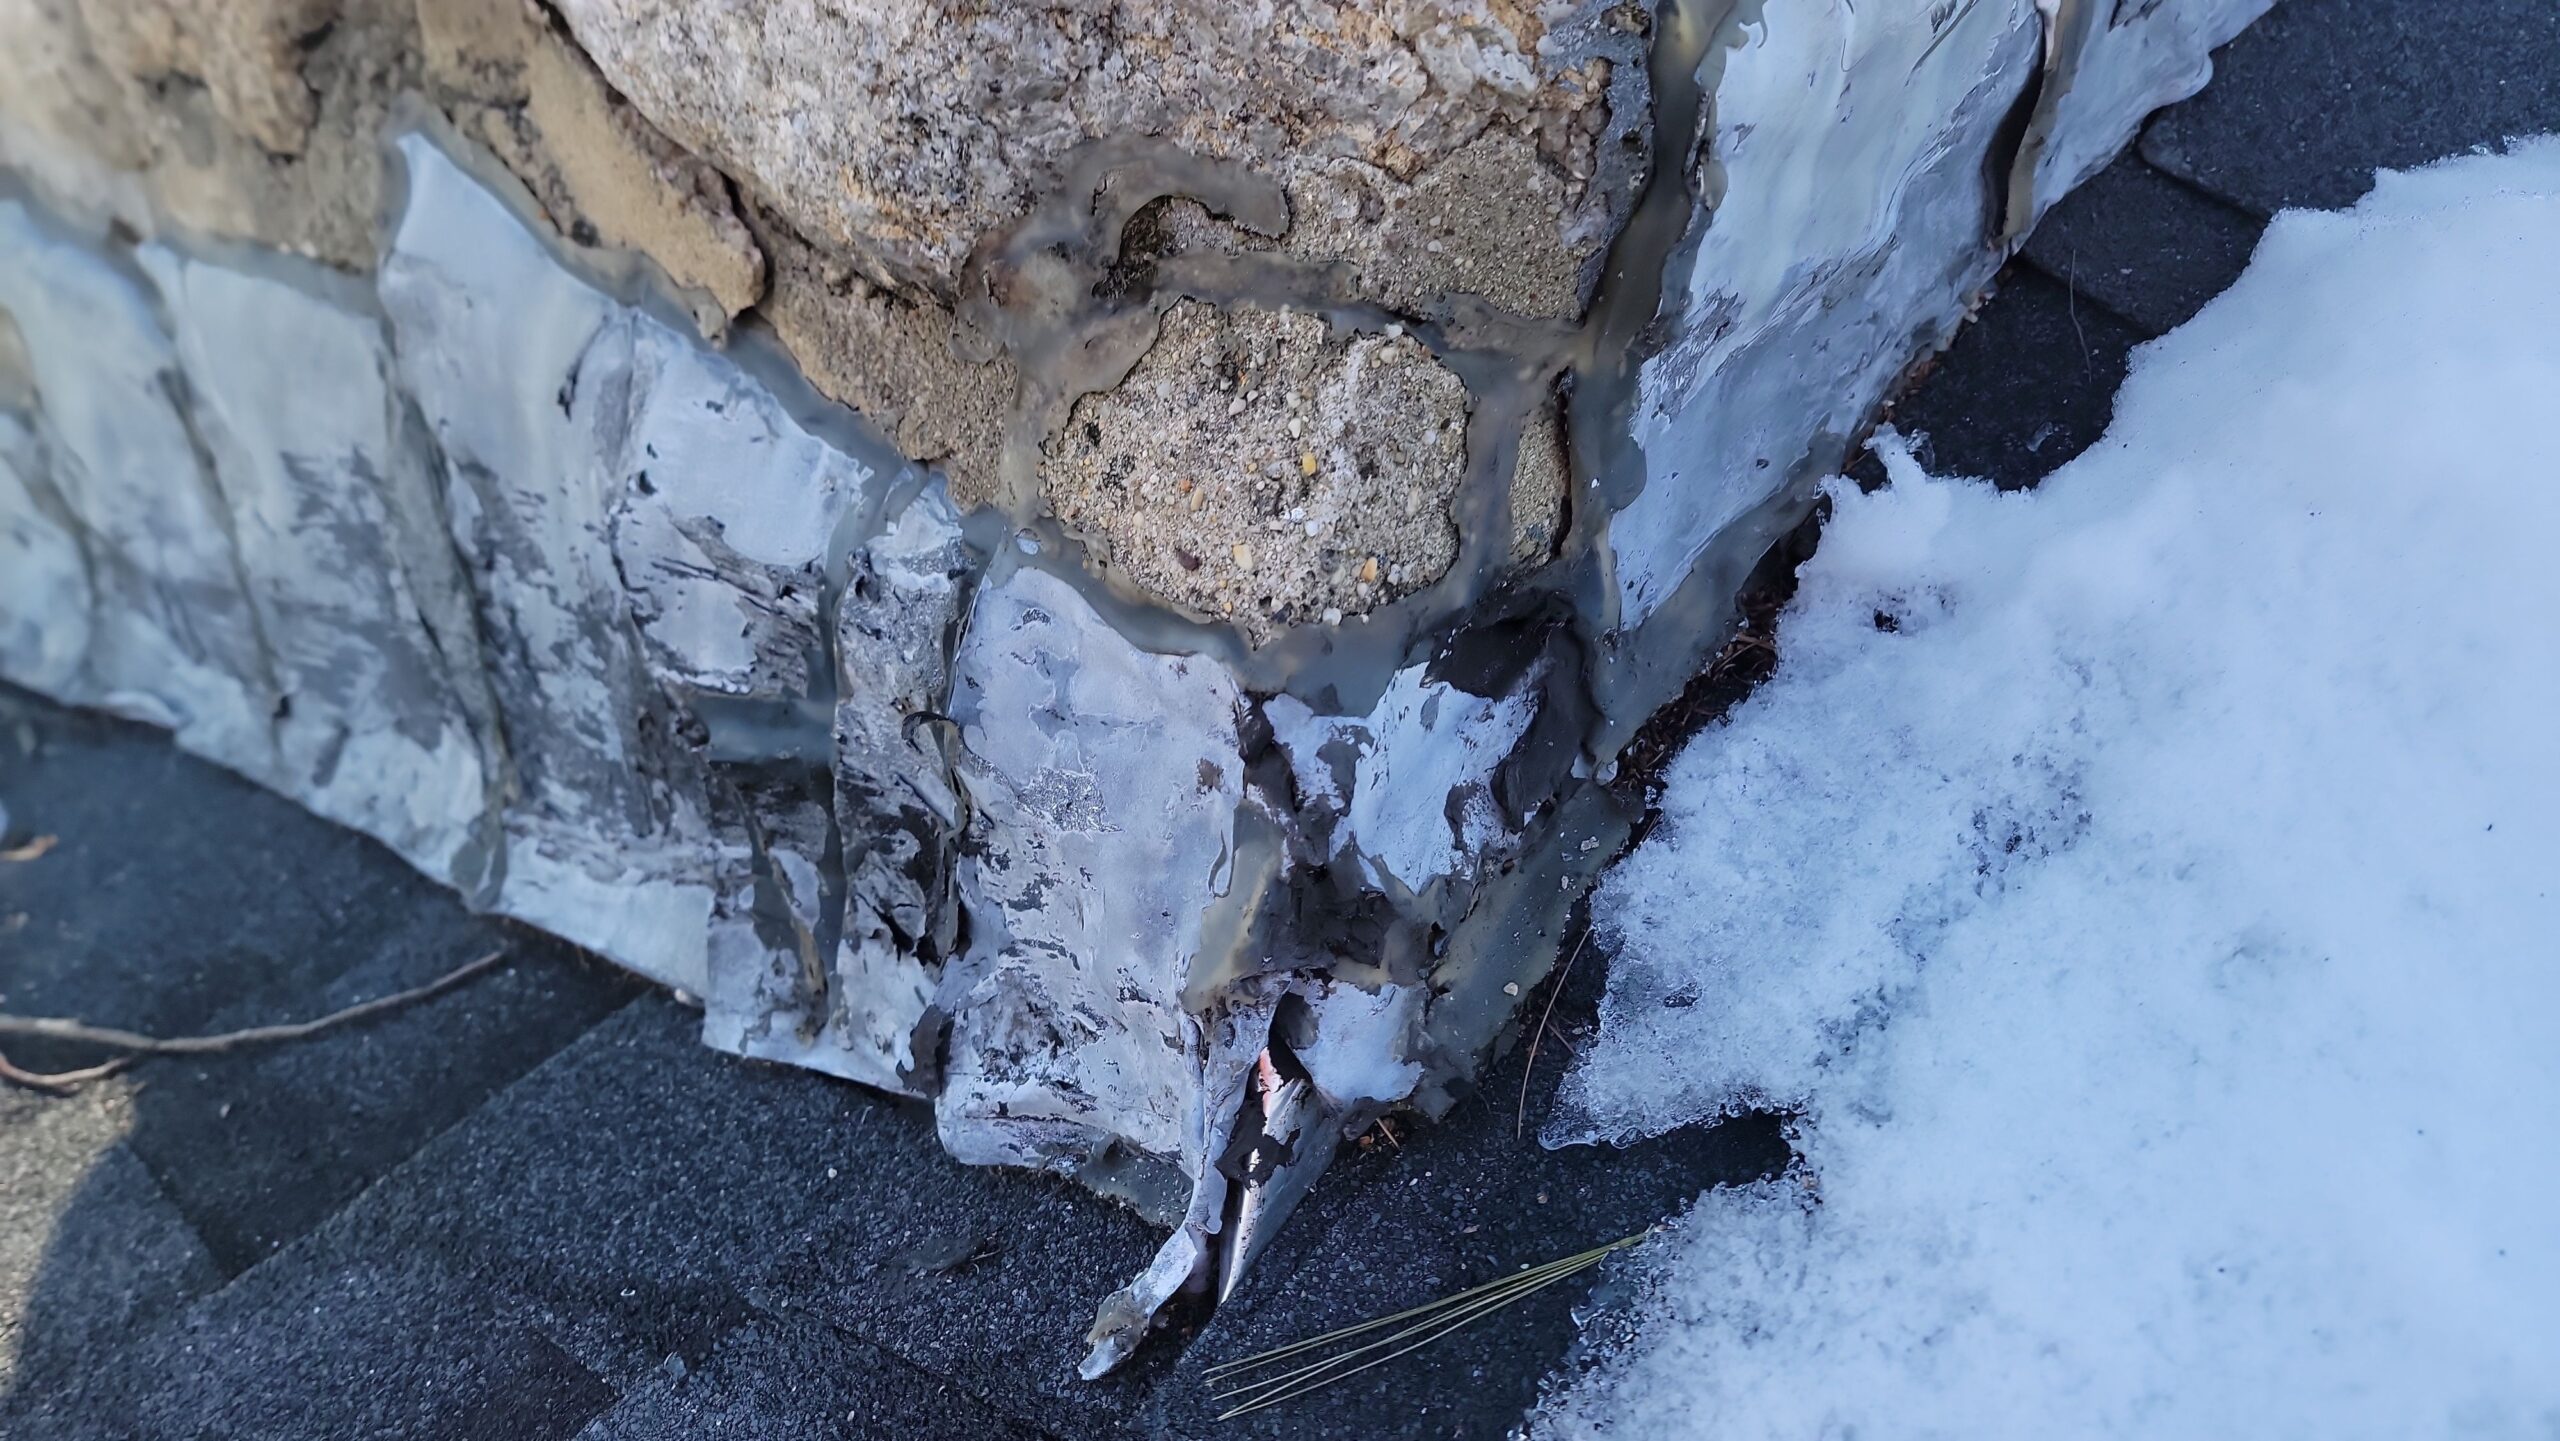
Metal flashing, masonry chimneys, and asphalt shingles all move differently as temperatures swing. Meanwhile, sealants can stiffen in cold weather. As a result, tiny separations can form at seams, corners, and fasteners—small enough to miss, but large enough to wick water.
When snow melts and refreezes at the eaves, water can back up under shingles. In contrast to normal rain flow (down and off the roof), ice backup forces water sideways and upward. That’s when flashing at eaves, step flashing along walls, and transitions near dormers become high-risk.
A homeowner can spot symptoms, but pinpointing the entry point often takes a trained process—because water can travel before it shows up inside.
One of the biggest misconceptions is that flashing problems can be solved permanently with surface caulk alone. For example, caulk may temporarily reduce water entry, but it can crack again with the next cold snap or pull away as materials move.
Another common issue is assuming the leak is “right above the stain.” Ultimately, water often enters at a flashing transition, travels along decking or framing, and appears several feet away.
Finally, not every winter leak is a shingle problem. Therefore, replacing shingles without addressing the flashing detail underneath can lead to repeat issues.
Flashing performance is tied to the whole roof system. If the attic environment is driving ice formation or condensation, flashing details get stressed more often.
Uneven insulation can create hot spots on the roof deck. Meanwhile, that localized warming melts snow in patches, feeding refreeze at colder edges and increasing the chance of water backing up toward flashing transitions.
Balanced intake and exhaust ventilation helps keep roof deck temperatures more consistent. In addition, it reduces moisture buildup in the attic that can mimic a roof leak.
Warm air leaks from the home into the attic can accelerate melt patterns and add moisture. As a result, you can see staining or frost that looks like a flashing leak, even when the roof exterior is intact.
Gutters, downspouts, valleys, and roof-to-wall transitions all influence where water concentrates. Therefore, a winter-focused inspection should look at how water is supposed to move—and where it’s being forced to move differently due to ice.
A Connecticut winter inspection isn’t just a quick glance for missing shingles. We typically focus on the details that fail quietly:
We examine chimney flashing (step flashing and counterflashing), pipe boots, skylight transitions, valleys, and roof-to-wall areas where snow can drift and refreeze. We also look for signs of prior “patching” that may be masking a detail problem, and we evaluate the attic for ventilation balance, insulation gaps, and air leakage that can drive ice backup.
For homeowners who want to learn more about your options, you can explore our roofing services page, read about our professional roof inspection process, and check out our seasonal guide on winter roof leak causes in Connecticut. If you’re in our coverage area, our local team also serves many towns across the region—see our Connecticut service area page for details.
If you’ve noticed staining, drafts near chimneys, or leaks that only appear during thaws, a professional evaluation can clarify whether you’re dealing with a flashing detail, an ice backup pattern, or an attic-driven issue.
A careful inspection after winter can help you plan the right fix—without guessing, over-patching, or replacing components that aren’t actually failing.